
The Siege of Caerlaverock Castle
A garrison of sixty against the English king’s army in July 1300, seen by a herald.
Words by Beth Reid
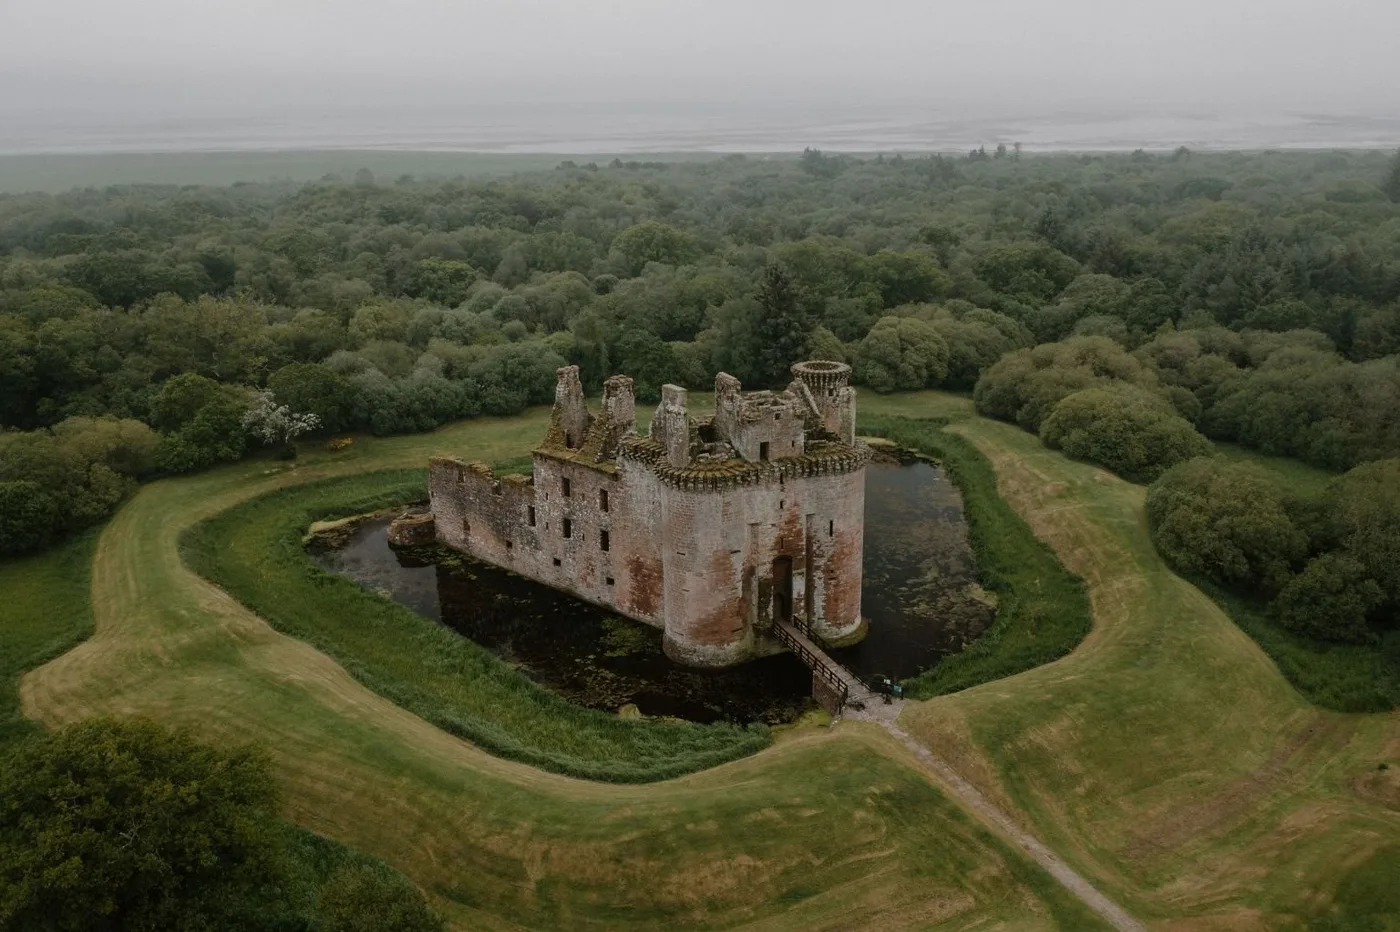
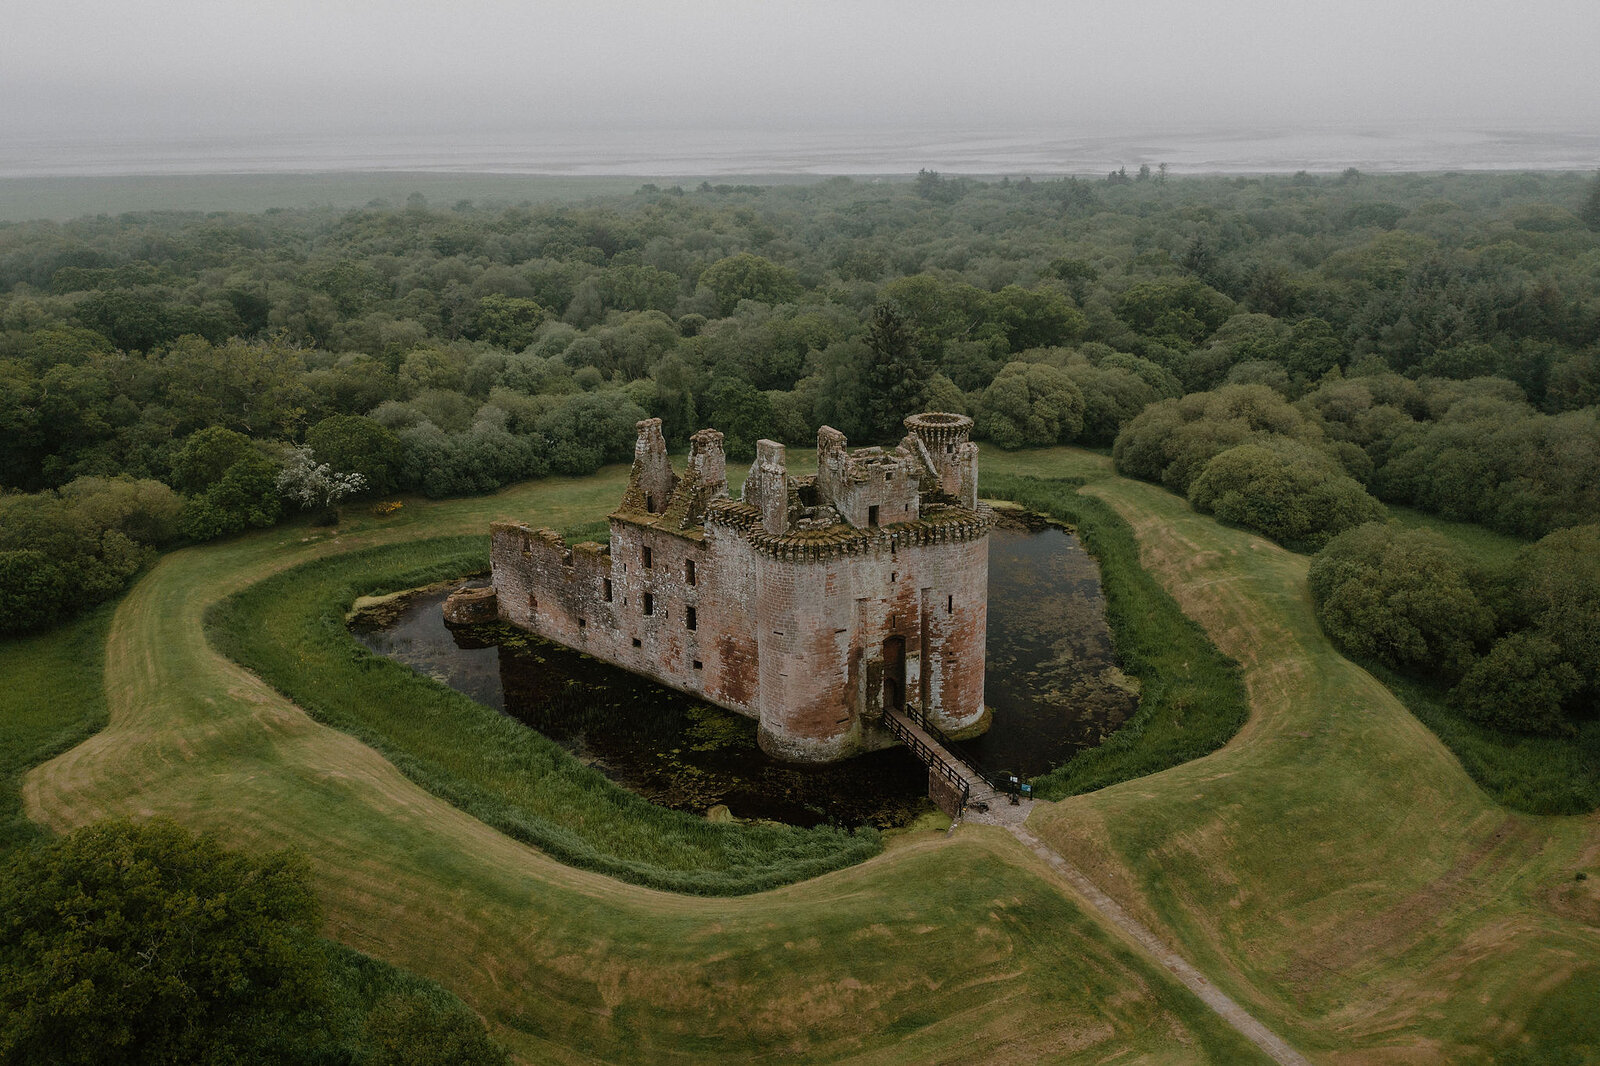
“Mighty was Caerlaverock Castle. Siege it feared not.” So claims the Roll of Caerlaverock, an eyewitness account of the siege of Caerlaverock, written by a herald of Edward I of England’s army in July 1300. The castle may have stood stalwart against attack, but its garrison of sixty fell to the three-thousand strong forces of the English king; another move made in the Scottish Wars of Independence.
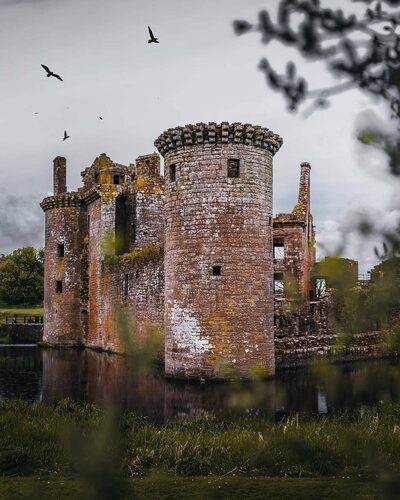
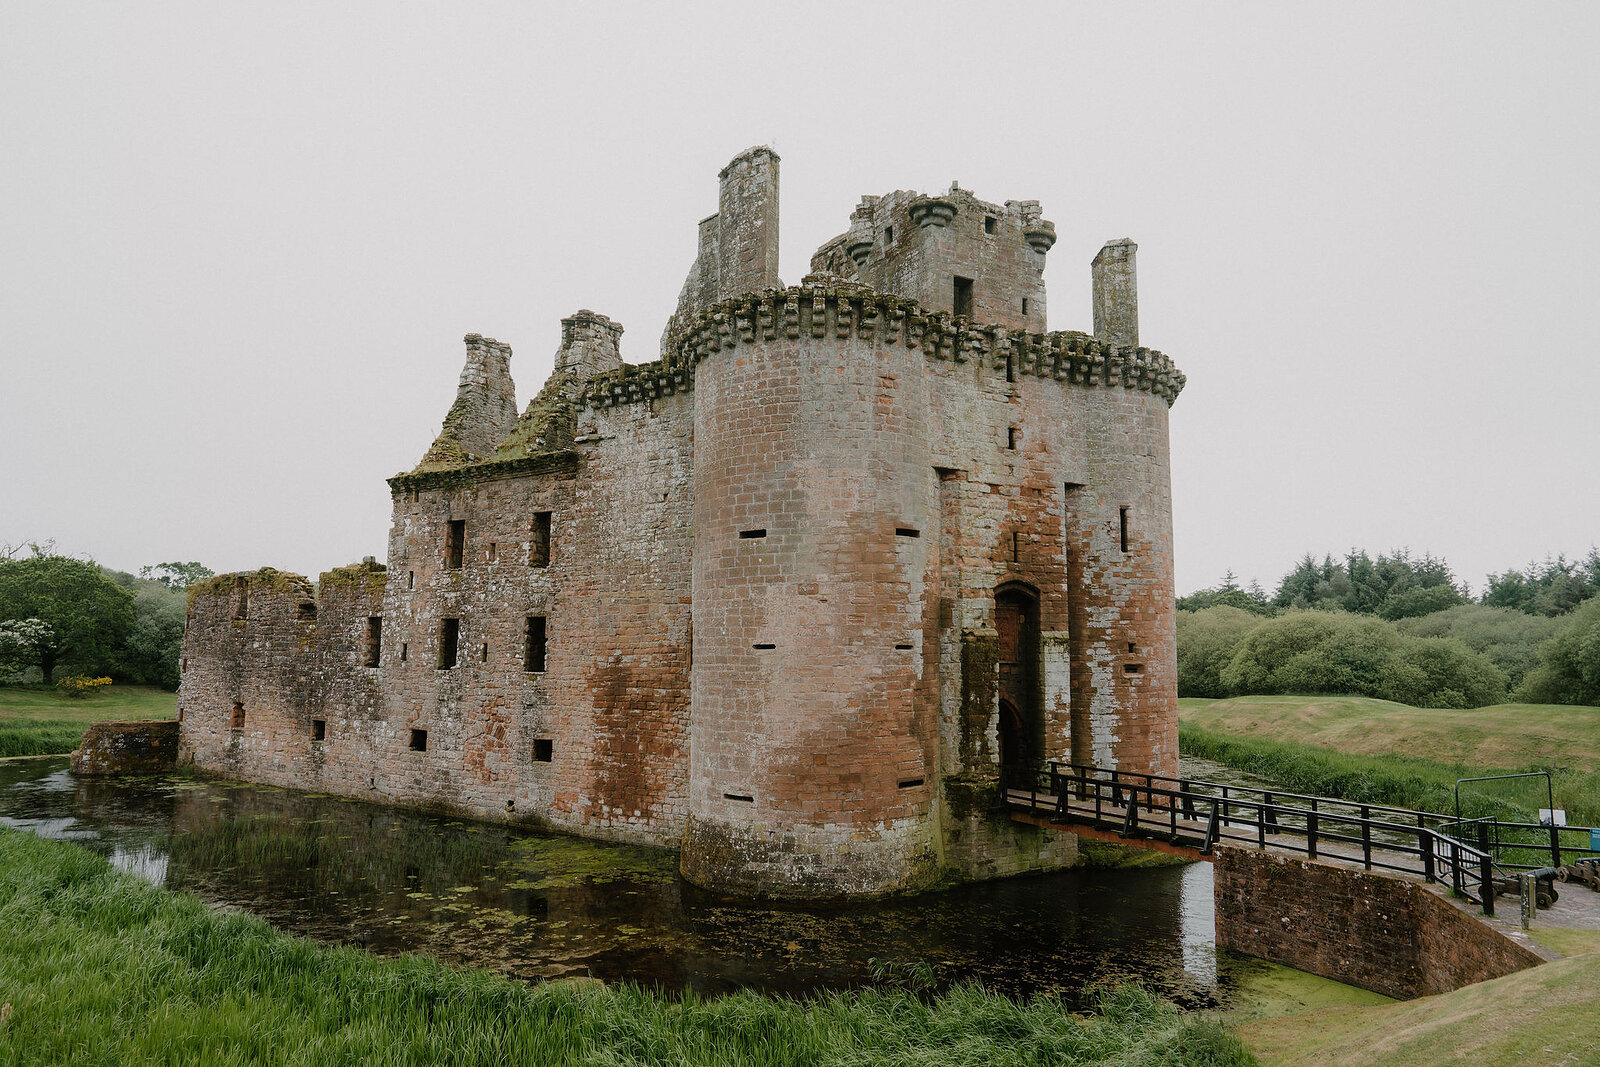
Caerlaverock Castle was built in the thirteenth century by the Maxwell family, who remarkably retained ownership of the castle until the seventeenth century. Its triangular layout makes it distinctive from other Scottish castles, and it stands out as one of the great sights of the very south of Scotland. Its location in Dumfries and Galloway, only thirty-five miles from the Anglo-Scottish border, made it particularly vulnerable to the warfare that ravaged southern Scotland during the Scottish Wars of Independence. In addition, the Scottish south-west was historically hostile to centralised royal authority in Scotland, becoming particularly rebellious to the English administration from 1297. As a key militarised fortress in the region, it was crucial that Edward took the castle to stamp out the opposition and claim the strategic location under his rule.
-full-1750069506.jpg)
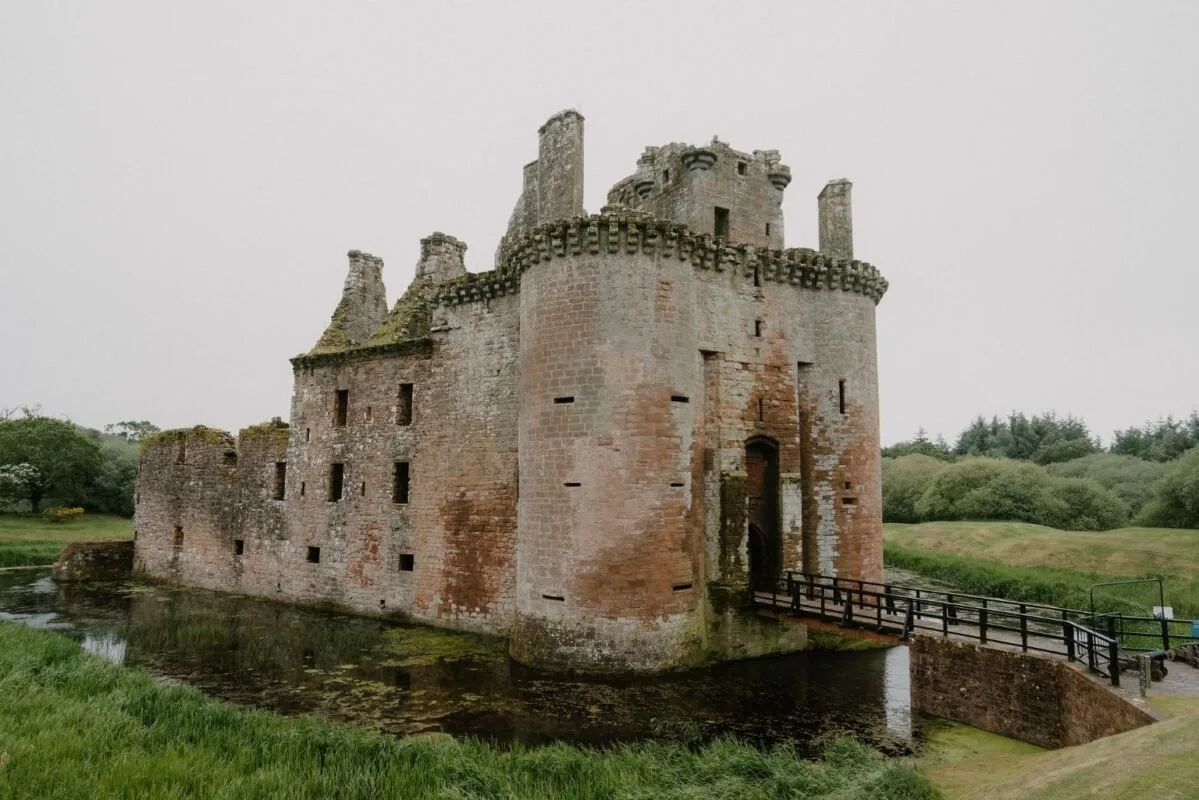
The extraordinary Roll of Caerlaverock reveals significant details about this quick siege, including which English nobles and knights were present. The survival of this eyewitness account is remarkable for a time period where so many documents of its kind have disappeared. Edward I’s impressive host – including a notable selection of earls and his heir, Prince Edward – arrived at Caerlaverock and set up camp in July 1300. It is not difficult to imagine the fear that the small garrison of sixty must have felt to look out upon the impressively organised and decorated army at their door, led by the mighty Edward I himself. This fear would only have increased when the siege began in earnest; a quick and brutal attack by Edward’s squadrons and infamous siege machinery, led by a clerical figure the Roll names as ‘Brother Robert’.
Edward’s forces were effective in their ferocity; the garrison surrendered after enduring two days of the assault. Despite the speed of Edward’s success, the Roll of Caerlaverock shows the impressiveness of such a small garrison withstanding the army for so long, describing that the English forces ‘marvelled’ that the defenders were so small in number.
With the garrison’s surrender, the Roll claimed that ‘life and limb the good king spared, and gave each a garment new’. This seems a surprisingly generous and respectful action by the formidable English king, but unfortunately very unlikely. The Lanercost Chronicle alleges that ‘many’ from Caerlaverock were hanged or imprisoned. Judging by Edward’s brutality at Berwick in 1296, against Wallace in 1305, and against Robert the Bruce’s female family members in 1306, the Lanercost Chronicle’s rendition is more realistic. Edward I was, after all, one of the most ruthless kings of England, with his might felt in full at the doors to Caerlaverock.
Beth Reid is a Scottish history graduate whose research specialises in medieval Scotland. Beth runs a microblog on Instagram and has written for Hidden Scotland, The History Corner, and the Historians Magazine.
 Out now
Twice a year, to your door
One hundred and sixty pages of Scotland, every photograph commissioned, every word written by someone who went. Members get both issues posted and everything on screen.
 The 900th Anniversary of Stirling
 Kilmartin Glen