

In September 1297 one of Scotland’s most iconic historical events took place, the Battle of Stirling Bridge. Much of the country had been suffering under the control of the English King Edward I, but resistance was steadily growing. Andrew de Moray led a revolt in the north, while William Wallace and his men were causing havoc in the south.
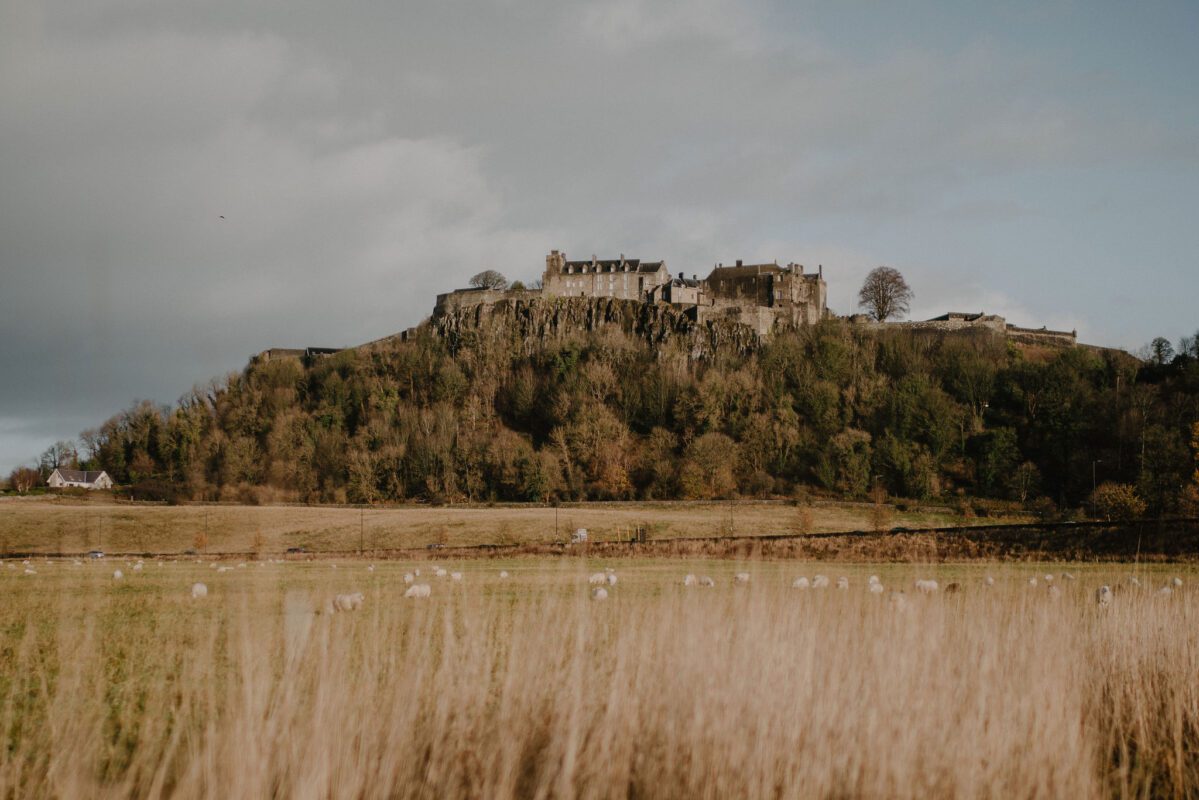
The English commanders were concerned but far from defeated. Everything came to a head at Stirling, the pivotal point of Scotland that had to be held at all costs. It’s thought that the Earl of Surrey commanded an army of up to 10,000, while Wallace and Moray led just over half as many men.
To make matters worse for the Scots, their army was made up of common spearmen who were facing experienced English heavy cavalry. Watching the enemy from atop Abbey Craig, the Scots knew that they couldn’t win by sheer force alone.
Lining up on either side of the river, the only connection between the two sides was the narrow Stirling Bridge. It was only wide enough for 2 horsemen to cross together and that made Surrey nervous. Another English commander Hugh de Cressingham on the other hand was impatient and overconfident. He convinced the Earl to move their army across the river and attack as soon as possible, believing that the heavy cavalry would mow down the lightly armoured Scots in no time.
Moray and Wallace weren’t going to let that happen though, instead they sprung their trap. When a large enough portion of the English army had made it across the bridge, the Scots charged. Forming their spears into tightly packed formations called schiltrons, they crashed into the unprepared troops before they could form up on the other side of the river.
The English were trapped between the river and a ferocious enemy, but those on the bridge were pushing them onto long Scottish spears. The Battle of Stirling Bridge quickly became a massacre. Knights were cut to pieces or drowned in the River Forth while trying to swim to safety. Cressingham himself was killed and Surrey gave up, escaping with what was left of his army.
It was more than just a battle; it was proof that the seemingly invincible English war machine could be beaten after all. William Wallace's name would go down in history, but it’s believed that Andrew de Moray was the real mastermind. He was badly wounded during the battle and died soon after, leaving behind Wallace to carry on the fight as sole Guardian of Scotland.
Promoted Post
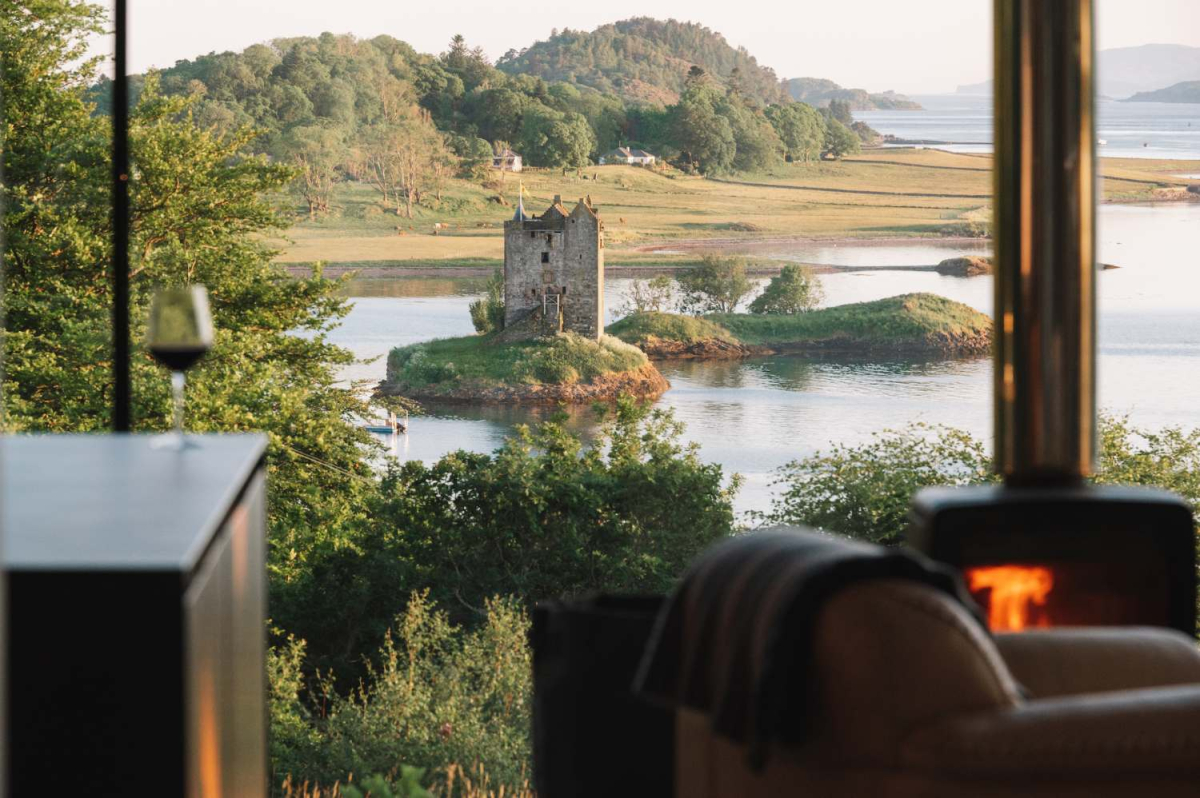
Stormhouse
Escape to the wild, rugged landscape of Scotland’s west coast, perfectly located between mountain and sea
(1)-full-1739888577.jpg)
-full-1739822778.jpg)
 Sign in with Google
 Sign in with Email